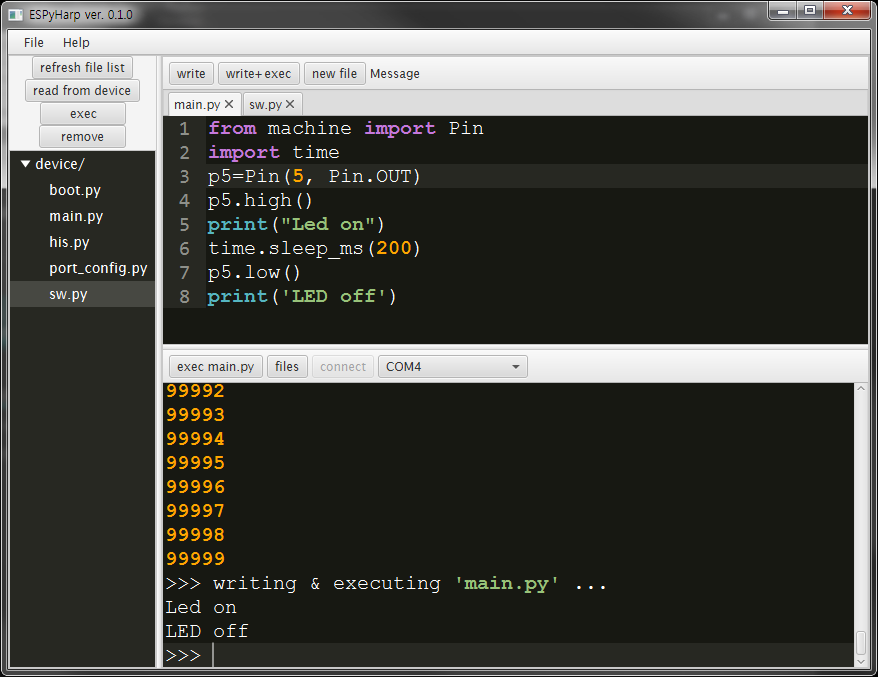
실패...
from machine import Pin, I2C
i2c = I2C(Pin(5), Pin(4))
그다음
i2c.scan( )
으로 연결된 아두이노의 주소가 검색이 안된다.
원인을 못 찾았음..
'연구 > espy 개발 노트' 카테고리의 다른 글
| ESPyHarp release page (0) | 2016.10.01 |
|---|---|
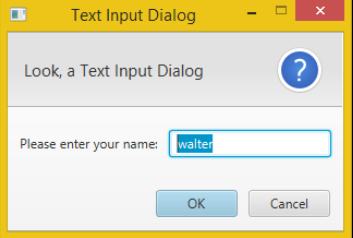
| javafx로 대화창/경고창 생성하기 (0) | 2016.09.30 |
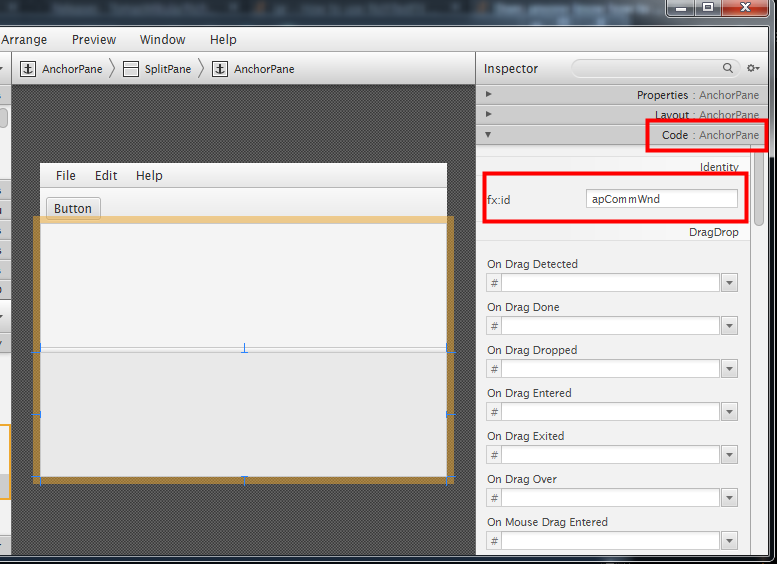
| java에서 키입력 시 addEventFilter, addEventListener 차이점 (0) | 2016.09.29 |
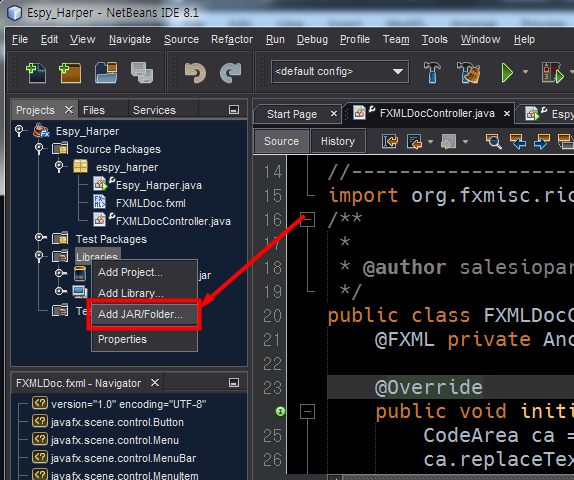
| RichTextFX 로 scroll bar를 붙이는 방법 (0) | 2016.09.26 |
| RichTextFX.CodeArea 에 css 적용하기 (0) | 2016.09.24 |